This thing needed a box. Designing and printing it involved a lot of iteration and trial and error. No matter how many times I measured, checked, confirmed and planned, there was always something that needed changing.
I’ll go through some of my iterations and learnings as far as designing the different components that brings this whole thing together.
Getting Into 3D Printing
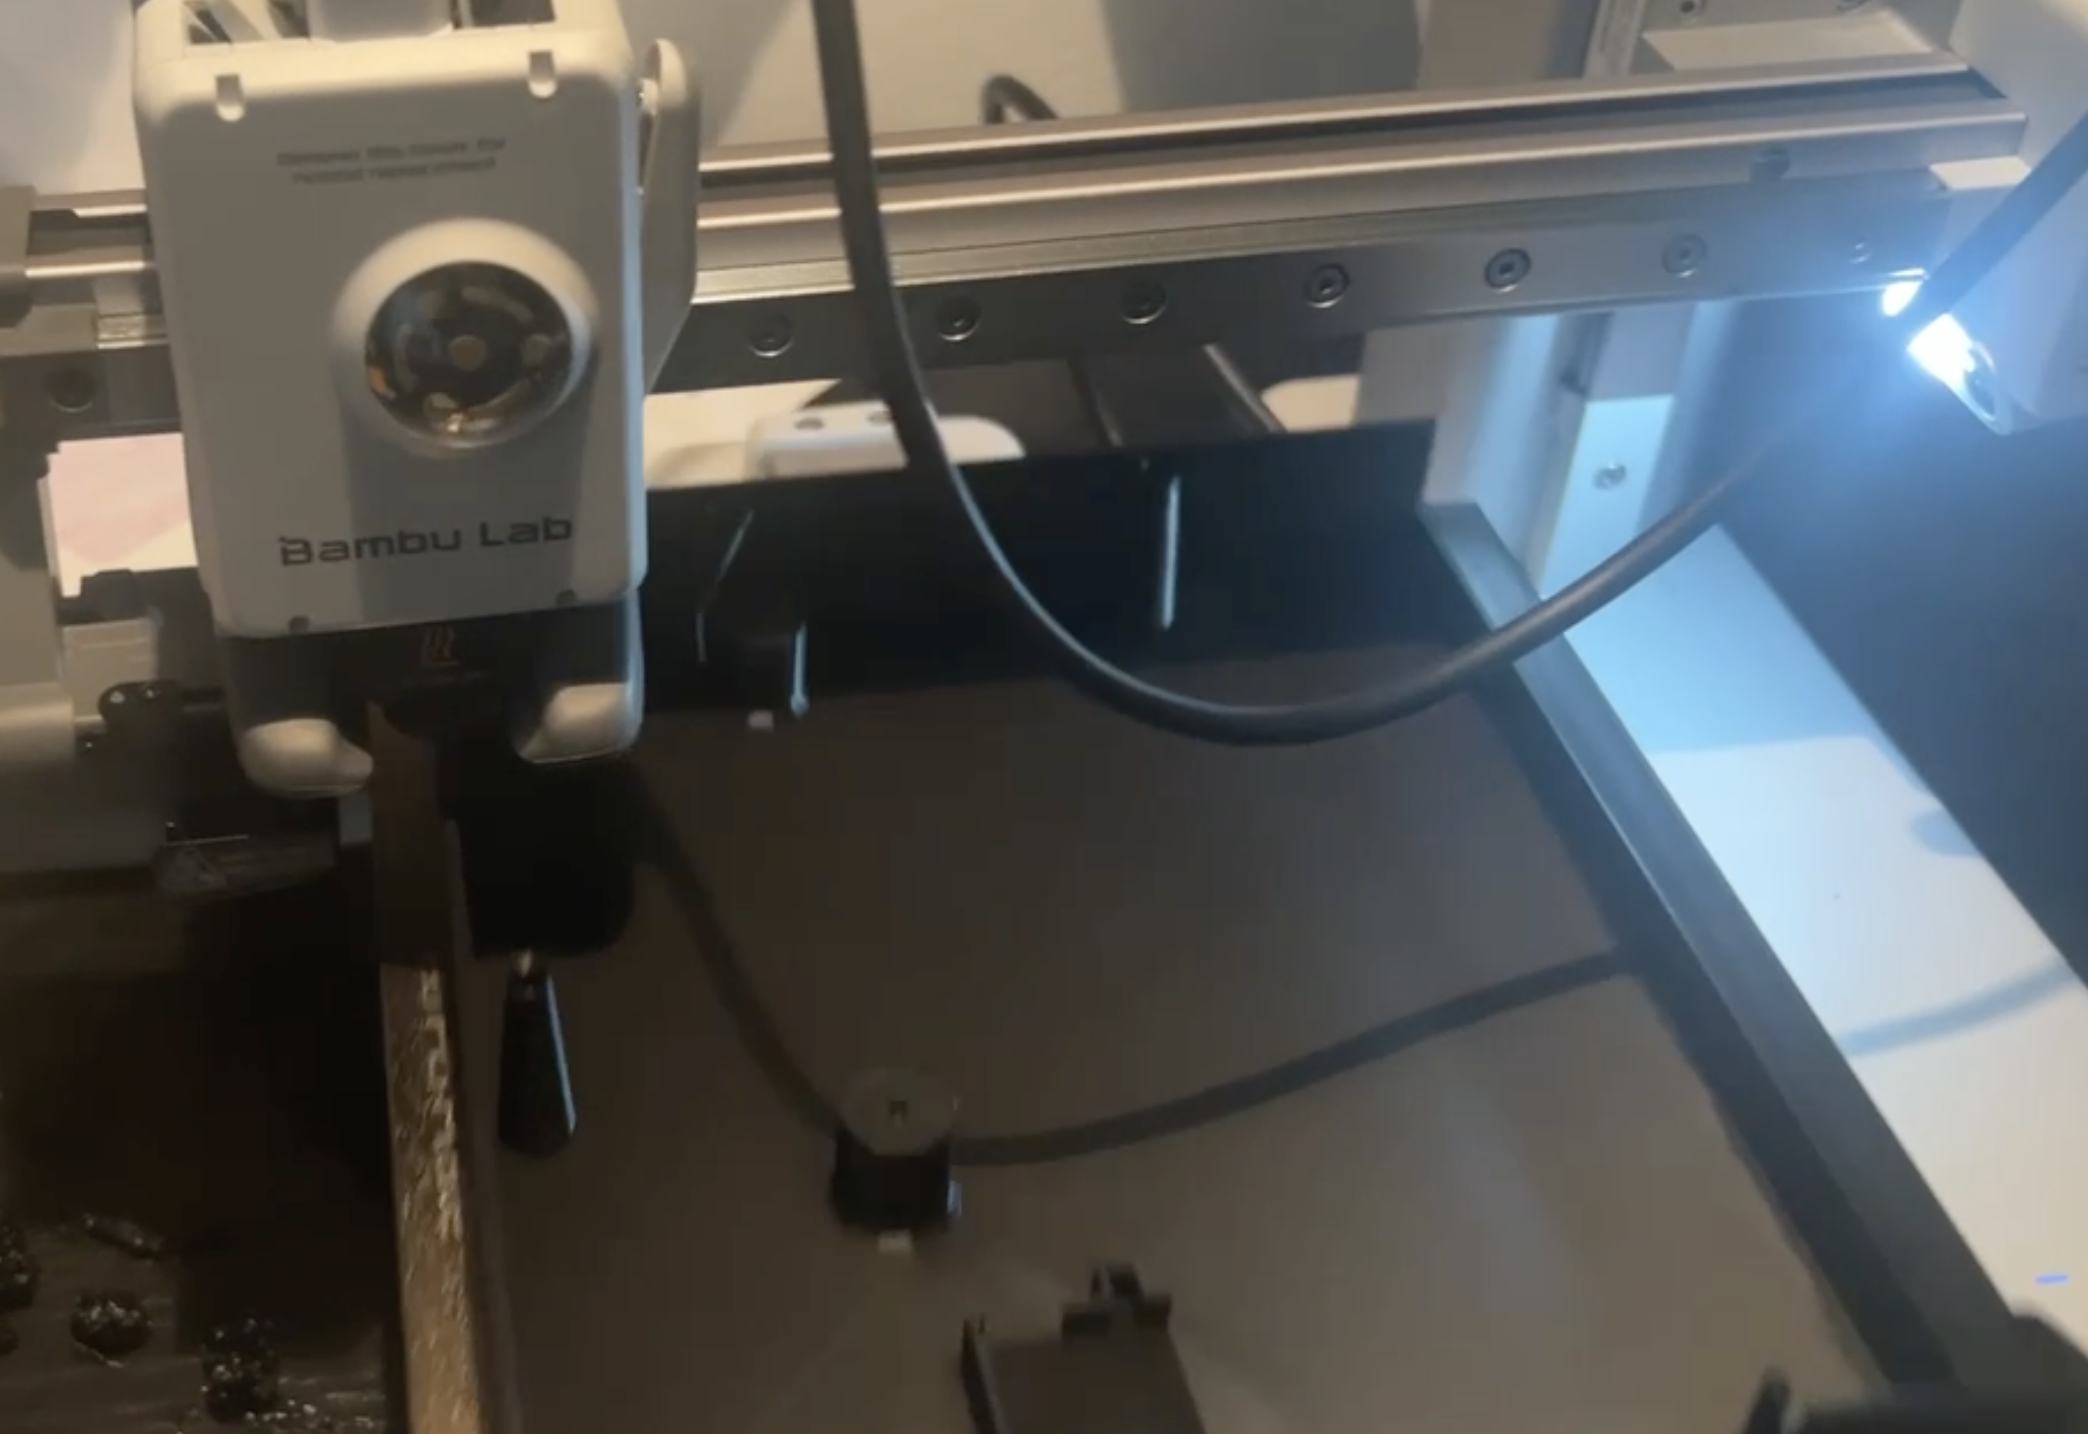
First of all, I needed a 3D printer! I opted for the budget Bambu Lab A1 Mini. I have limited space and didn’t want to go overboard on features so this was a good fit for me. However, it has a relatively small print bed and so, I needed to print the base and lid of the puzzle in two pieces. I designed a dovetail joint to slot them together afterwards. It’s pretty sturdy!
Early CAD Exploration
CAD software had always felt quite intimidating to me. But I felt this project wouldn’t be too complex; mostly straight lines (with some chamfering, filleting etc) shouldn’t be too much of a problem so I just looked for something simple and free. That brought me to Tinkercad, an entry-level CAD program by Autodesk, mostly targetted towards young students.
It’s pretty easy to get to grips with and in a weekend, I had something resembling the lid and base of my puzzle box.
Moving to Shapr3D
Tinkercad’s limitations appeared fairly quickly. While it’s excellent for beginners, I quickly found myself needing features like shelling, patterning and better chamfer control.
After trying a few alternatives, I settled on Shapr3D, which turned out to be a great fit, especially on iPad, where the Apple Pencil workflow feels very natural.
The learning curve is quite a bit steeper than Tinkercad but a week or so with playing and I was onboard. Not long after and this is what I ended up with:
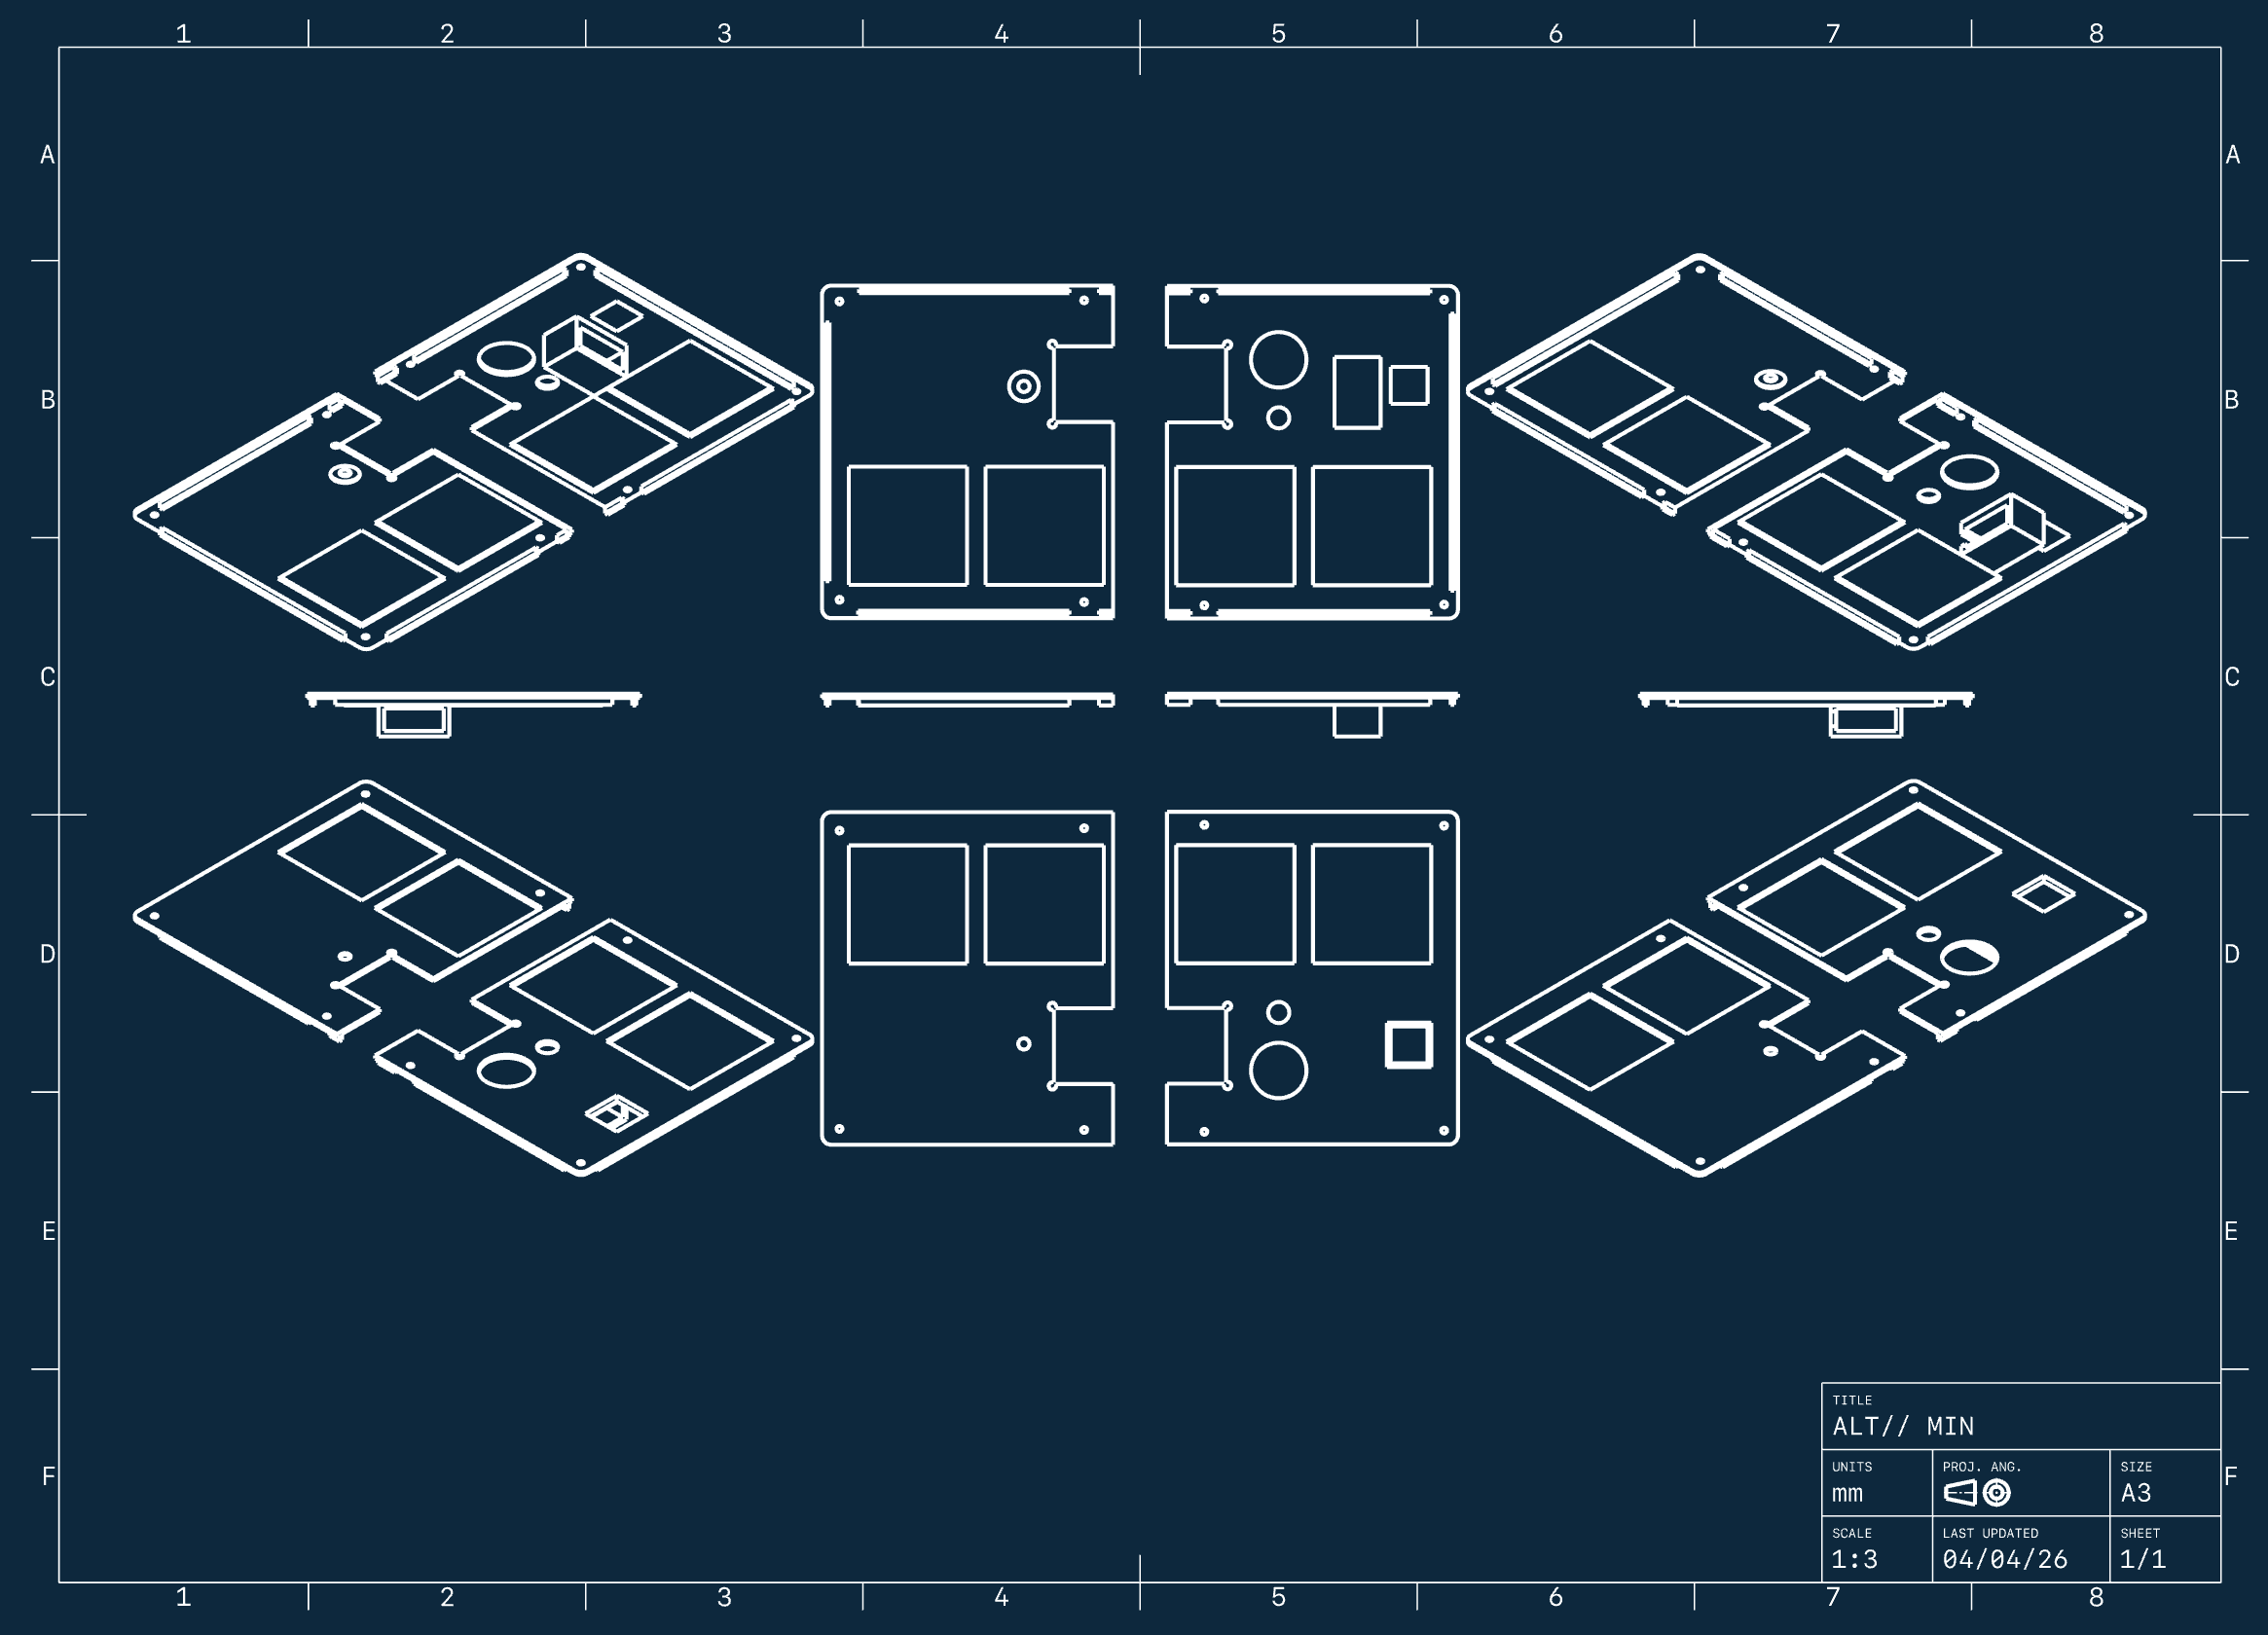
Shapr3D has a pretty cool mechanical drawing feature too. Here’s a simple-to-export drawing of the lid of the ALT// MIN puzzle:
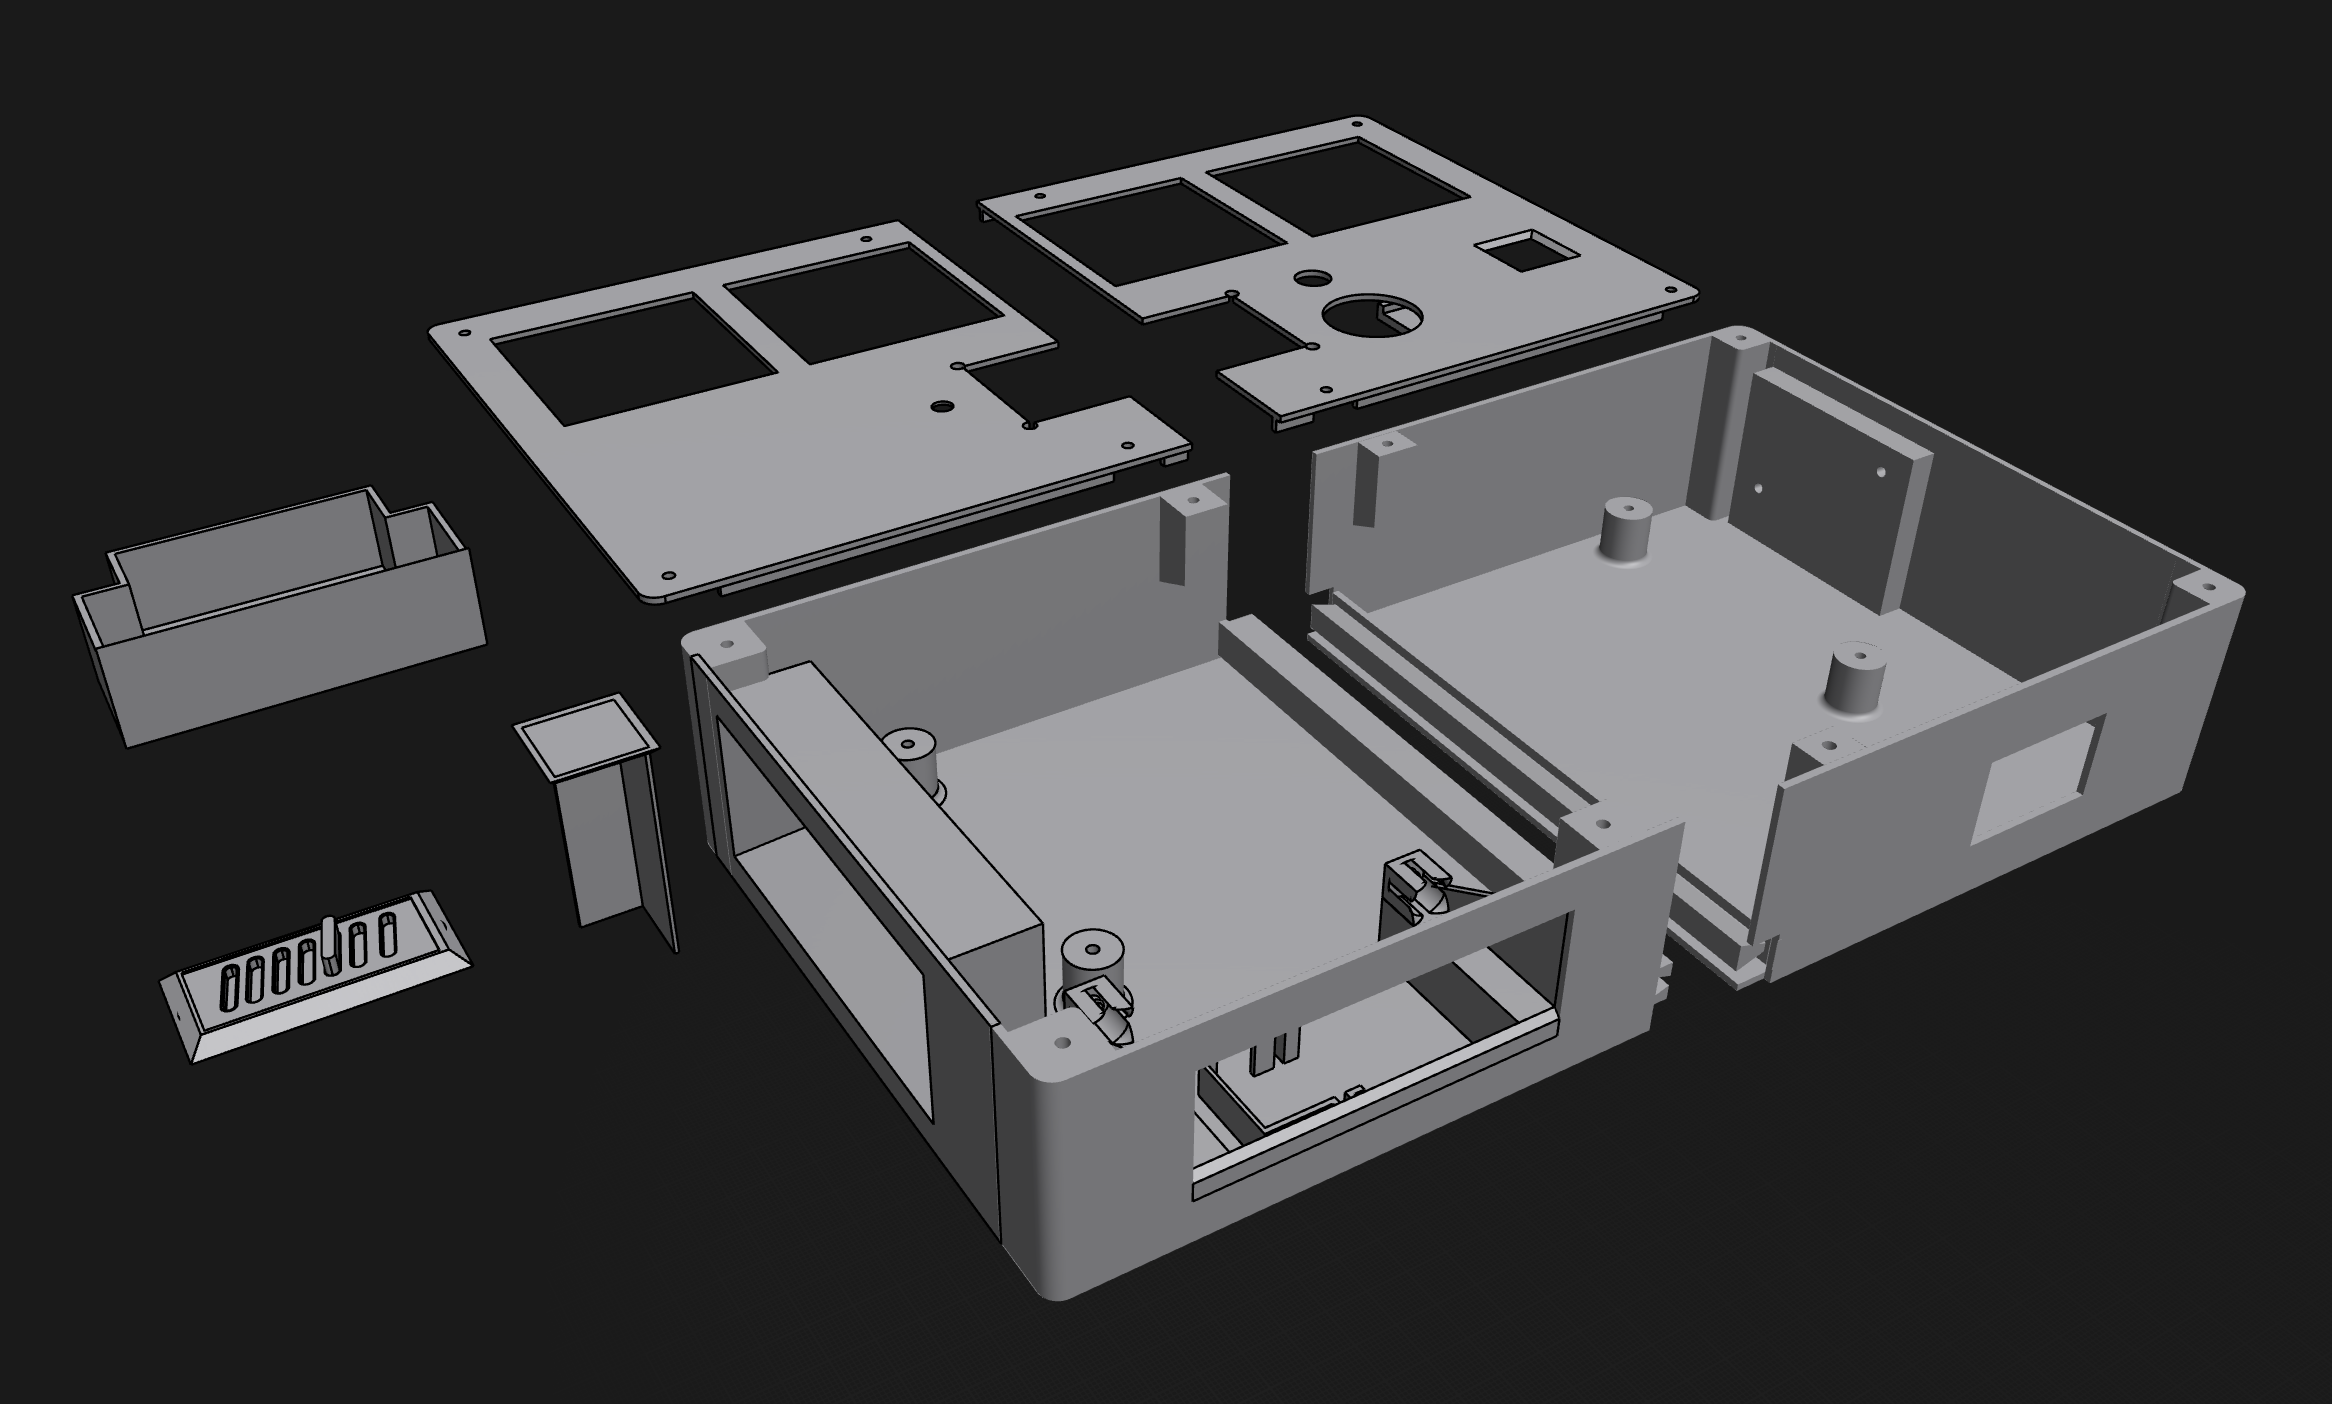
Mechanical Design Challenges
The trickiest parts to get right were the two mechanical reveal parts of the puzzle. This is where the heaviest iteration happened. Not only designing mechanisms to physically move sections around but also considering the rest of the electronics driving the puzzle – everything needed to fit smoothly, not collide with other components and work within the power constraints of the battery setup.
Reveal One: Key Reveal Mechanism
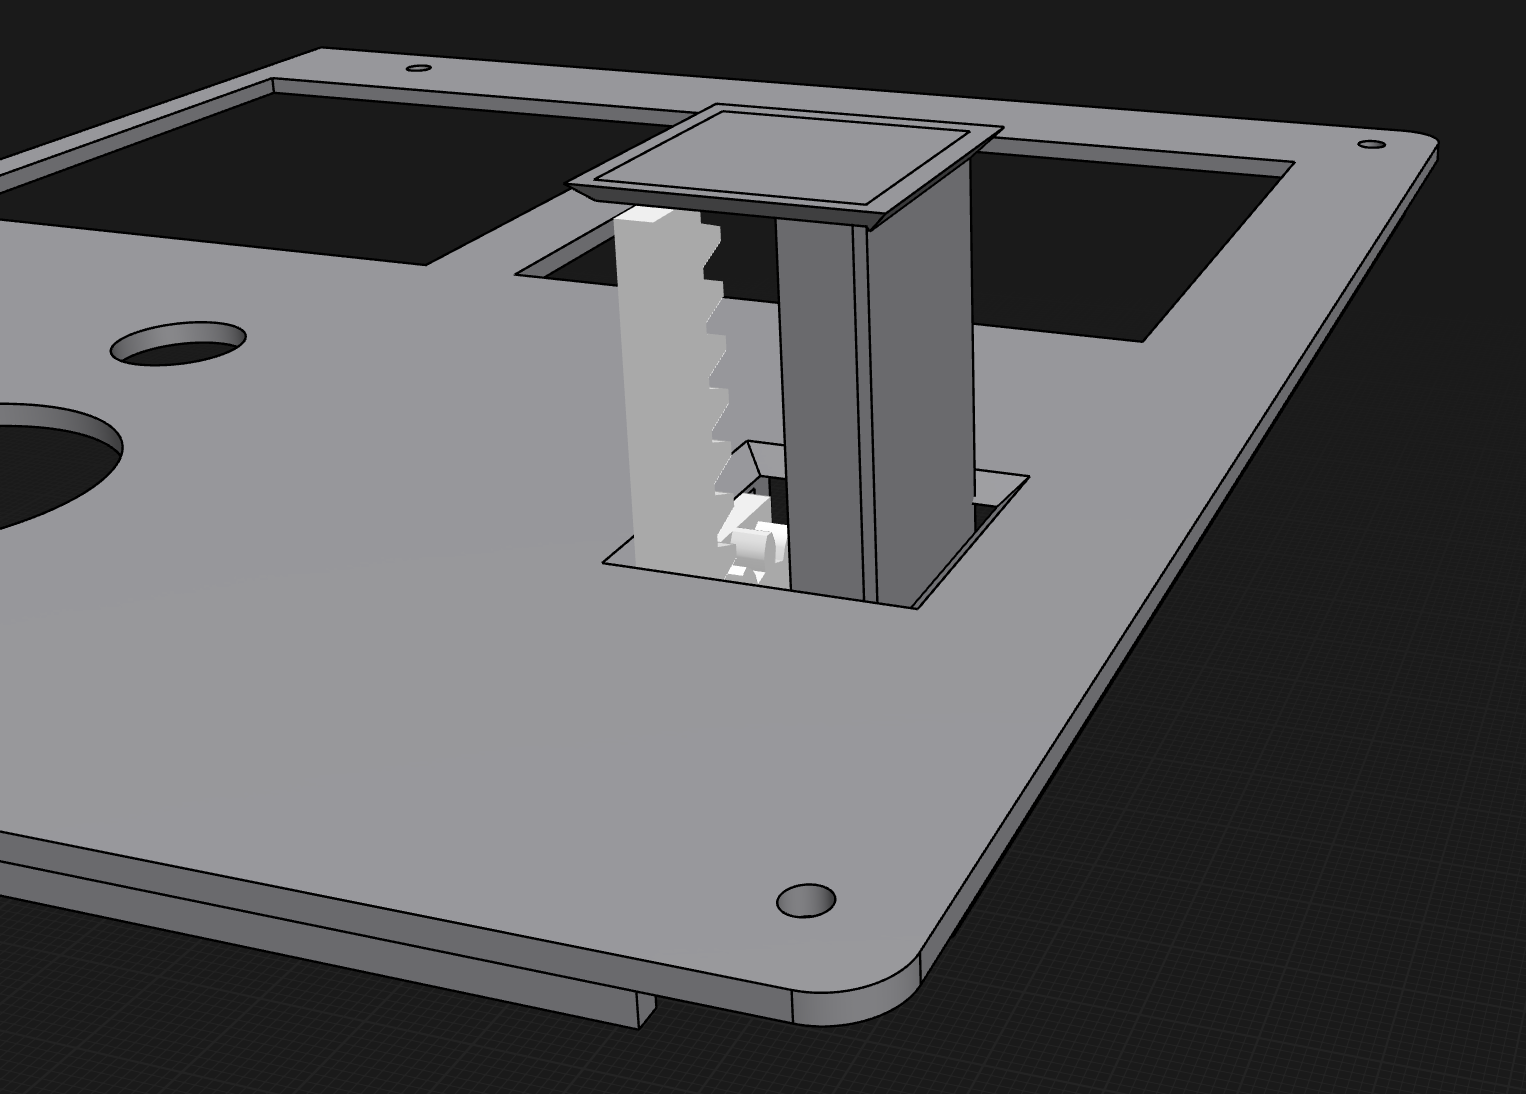
Early on in the puzzle, a section of the lid raises up to reveal a suspended key which the player removes and inserts in the key lock to “power up the console”.
This works by an MG90S servo held into the underside of the lid of the puzzle. A 3D printed rack and pinion system moves up and down which pushes on the cover of the key door, raising it into view of the player.
Here’s above and below shots of the lid of the puzzle showing how the key raises out of the box:

Reveal Two: Prize Drawer Mechanism
The final reveal is a small drawer which pops out the front of the puzzle during the end when the aliens “gift it to the player”.
This part was really fun to build but I went through a lot of different ideas of how to reveal the drawer to the user in an interesting way which was also relatively simple to implement.
Initially, a hinge-based system seemed obvious but it was difficult to make the hinge completely hidden and also, provide a mechanism which kept the drawer closed. I also considered using magnets which slide out of the way, a purely gravity-based system where a servo held up a sloped drawer until it moved and the drawer fell out.
All of them felt a little lame in how they would actually reveal the drawer at the end. Eventually, I went with a servo and spring-based solution. Working with springs felt intimidating at first, since there were so many variables to tune but I got in working in the end. Here’s how we get the nice “pop open effect”…
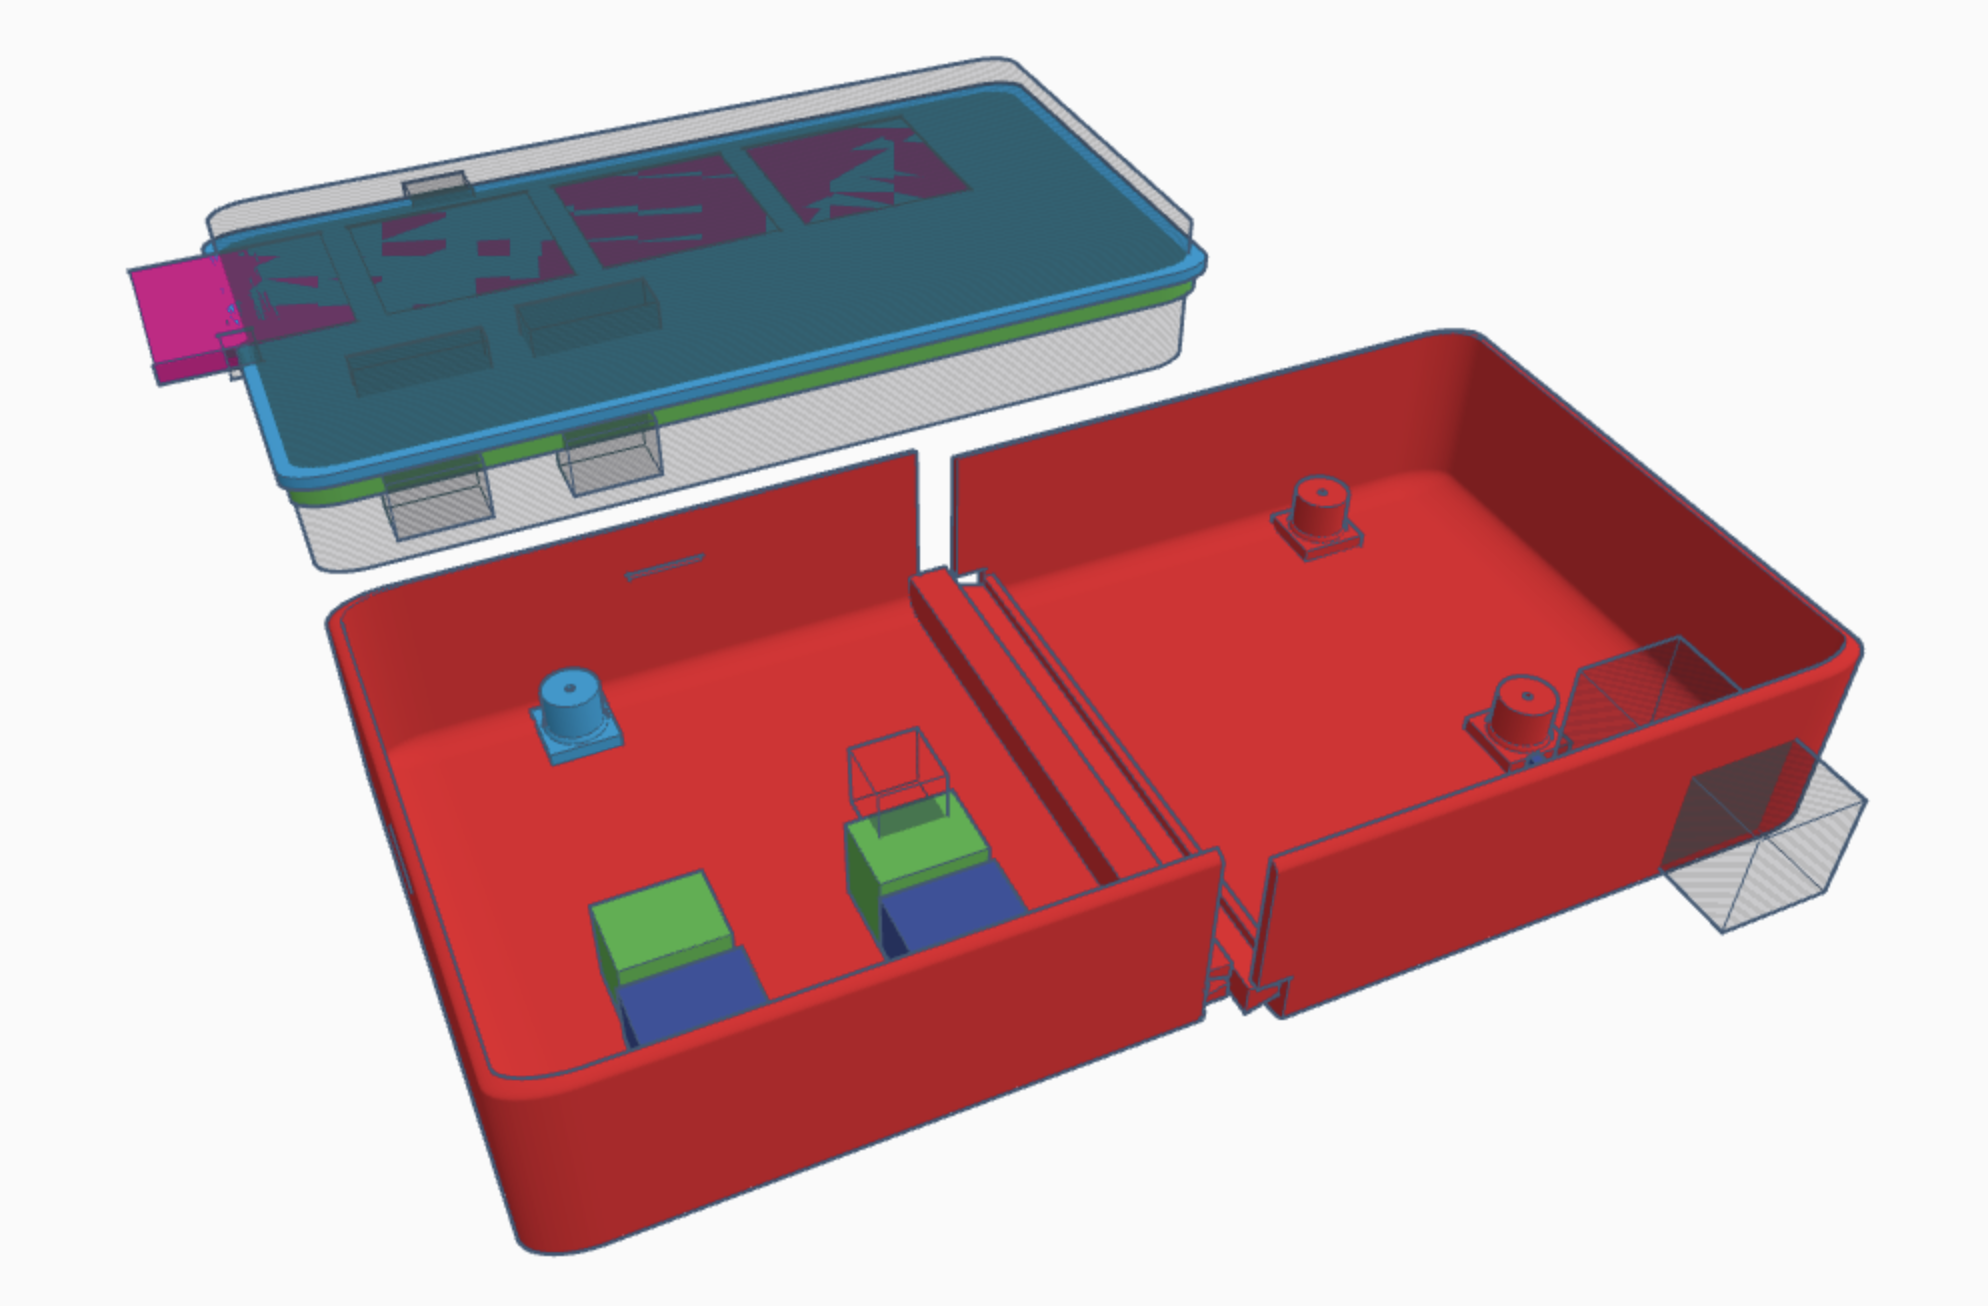
First of all, the drawer has a post at the back of it (you can see it highlighted in blue in this render). The second part is an alcove at the back of the drawer’s shelf (highlighted in red) which contains a spring and the drawer’s post pushes against.
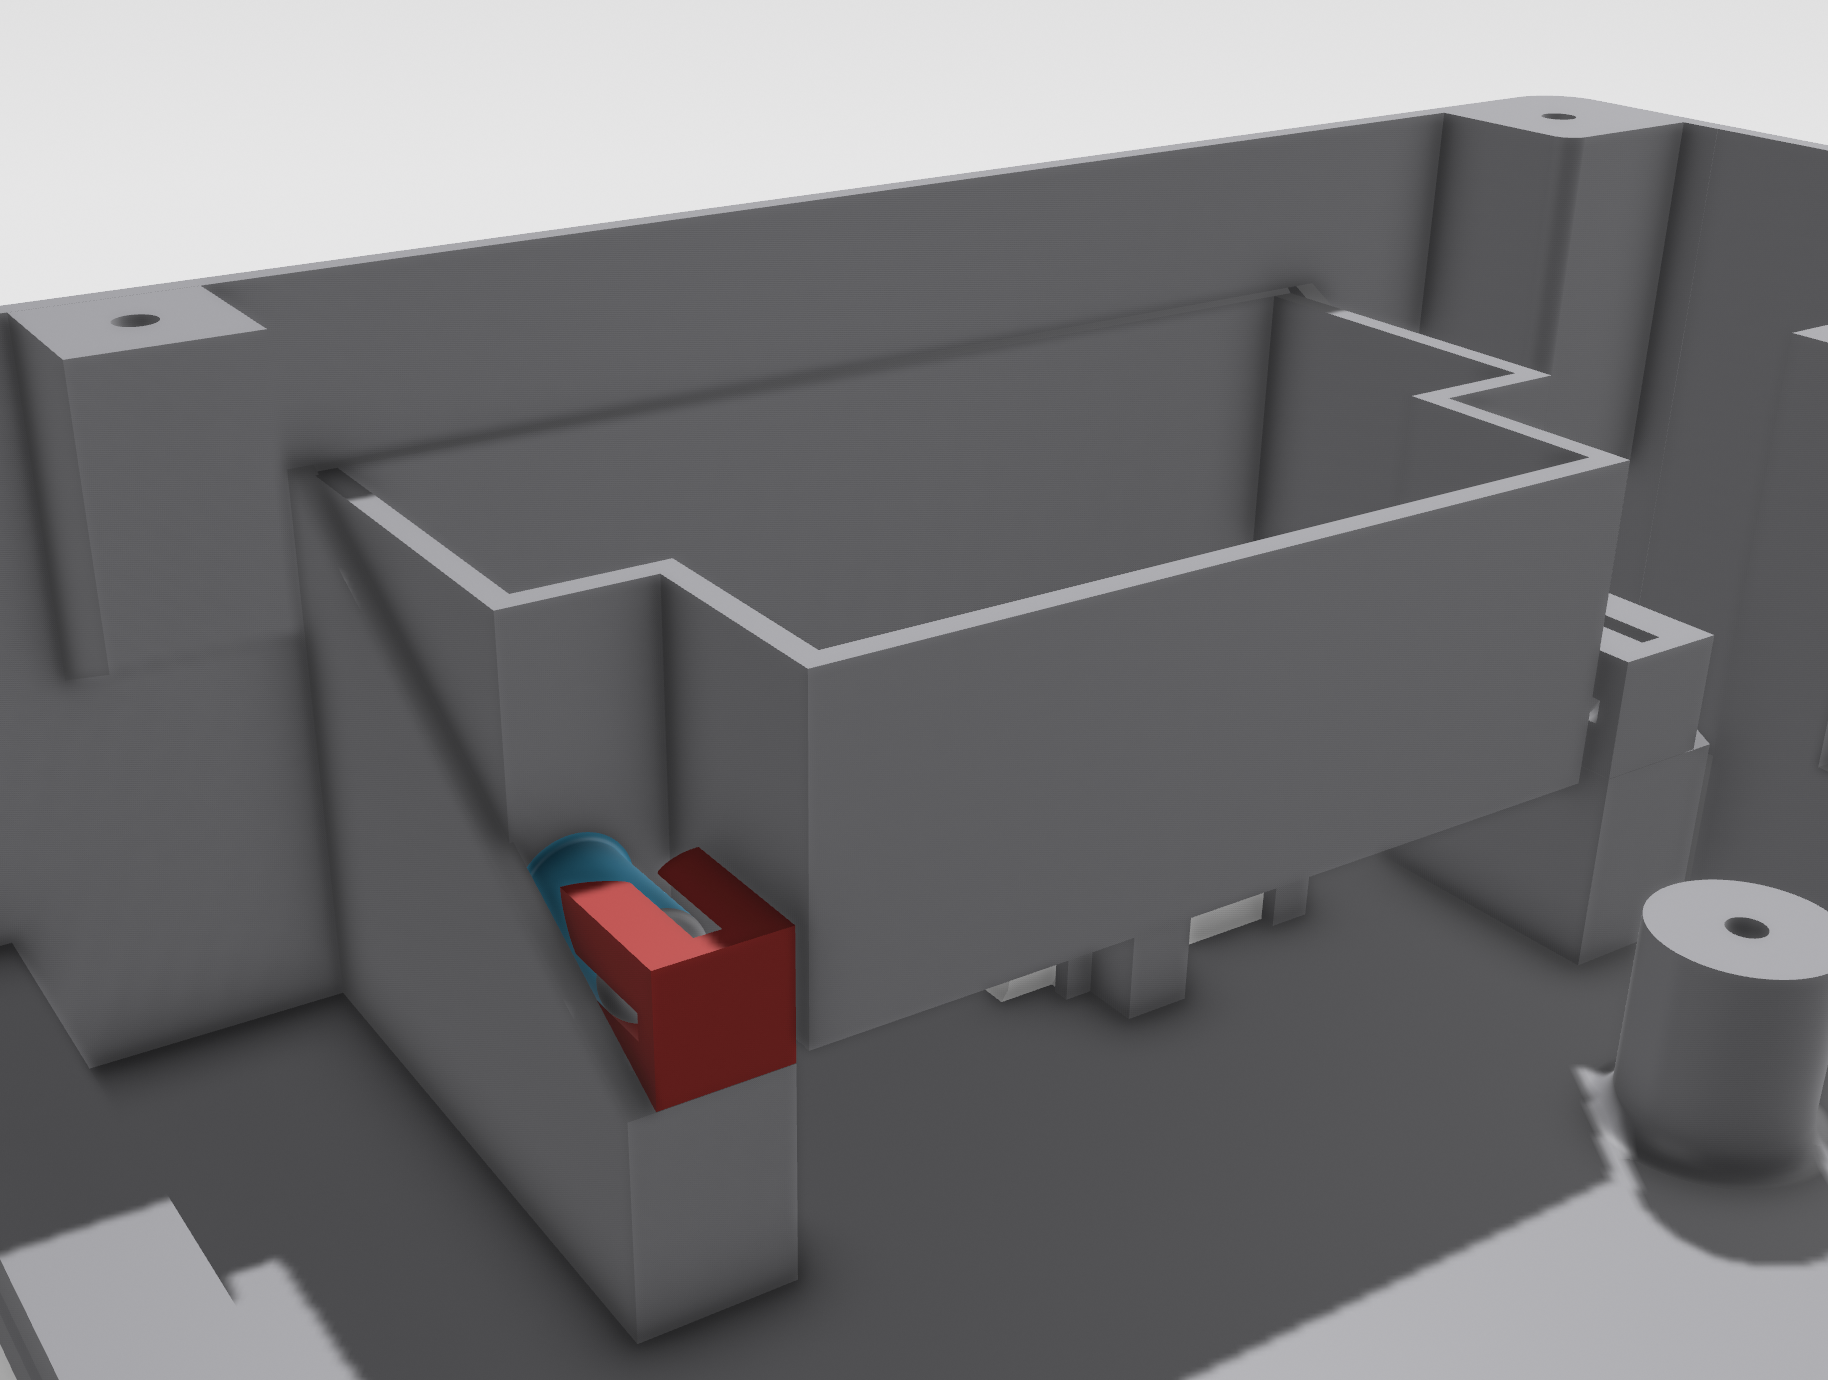
The alcove the spring sits within was tricky. The tolerences are tight and I didn’t want to have to print the entire base of the puzzle out every time I wanted to iterate. Instead, I printed it out separately and stuck it on. For this, I used epoxy for the first time; a material I was actually pretty scared of but it worked out well in the end.
Next, a servo (highlighted with red below) sits below and has a servo arm attached to it (highlighted in blue). The servo arm sits within an alcove in the bottom of the drawer (highlighted in green). The arm is strong enough to hold the drawer back against the force of the spring.
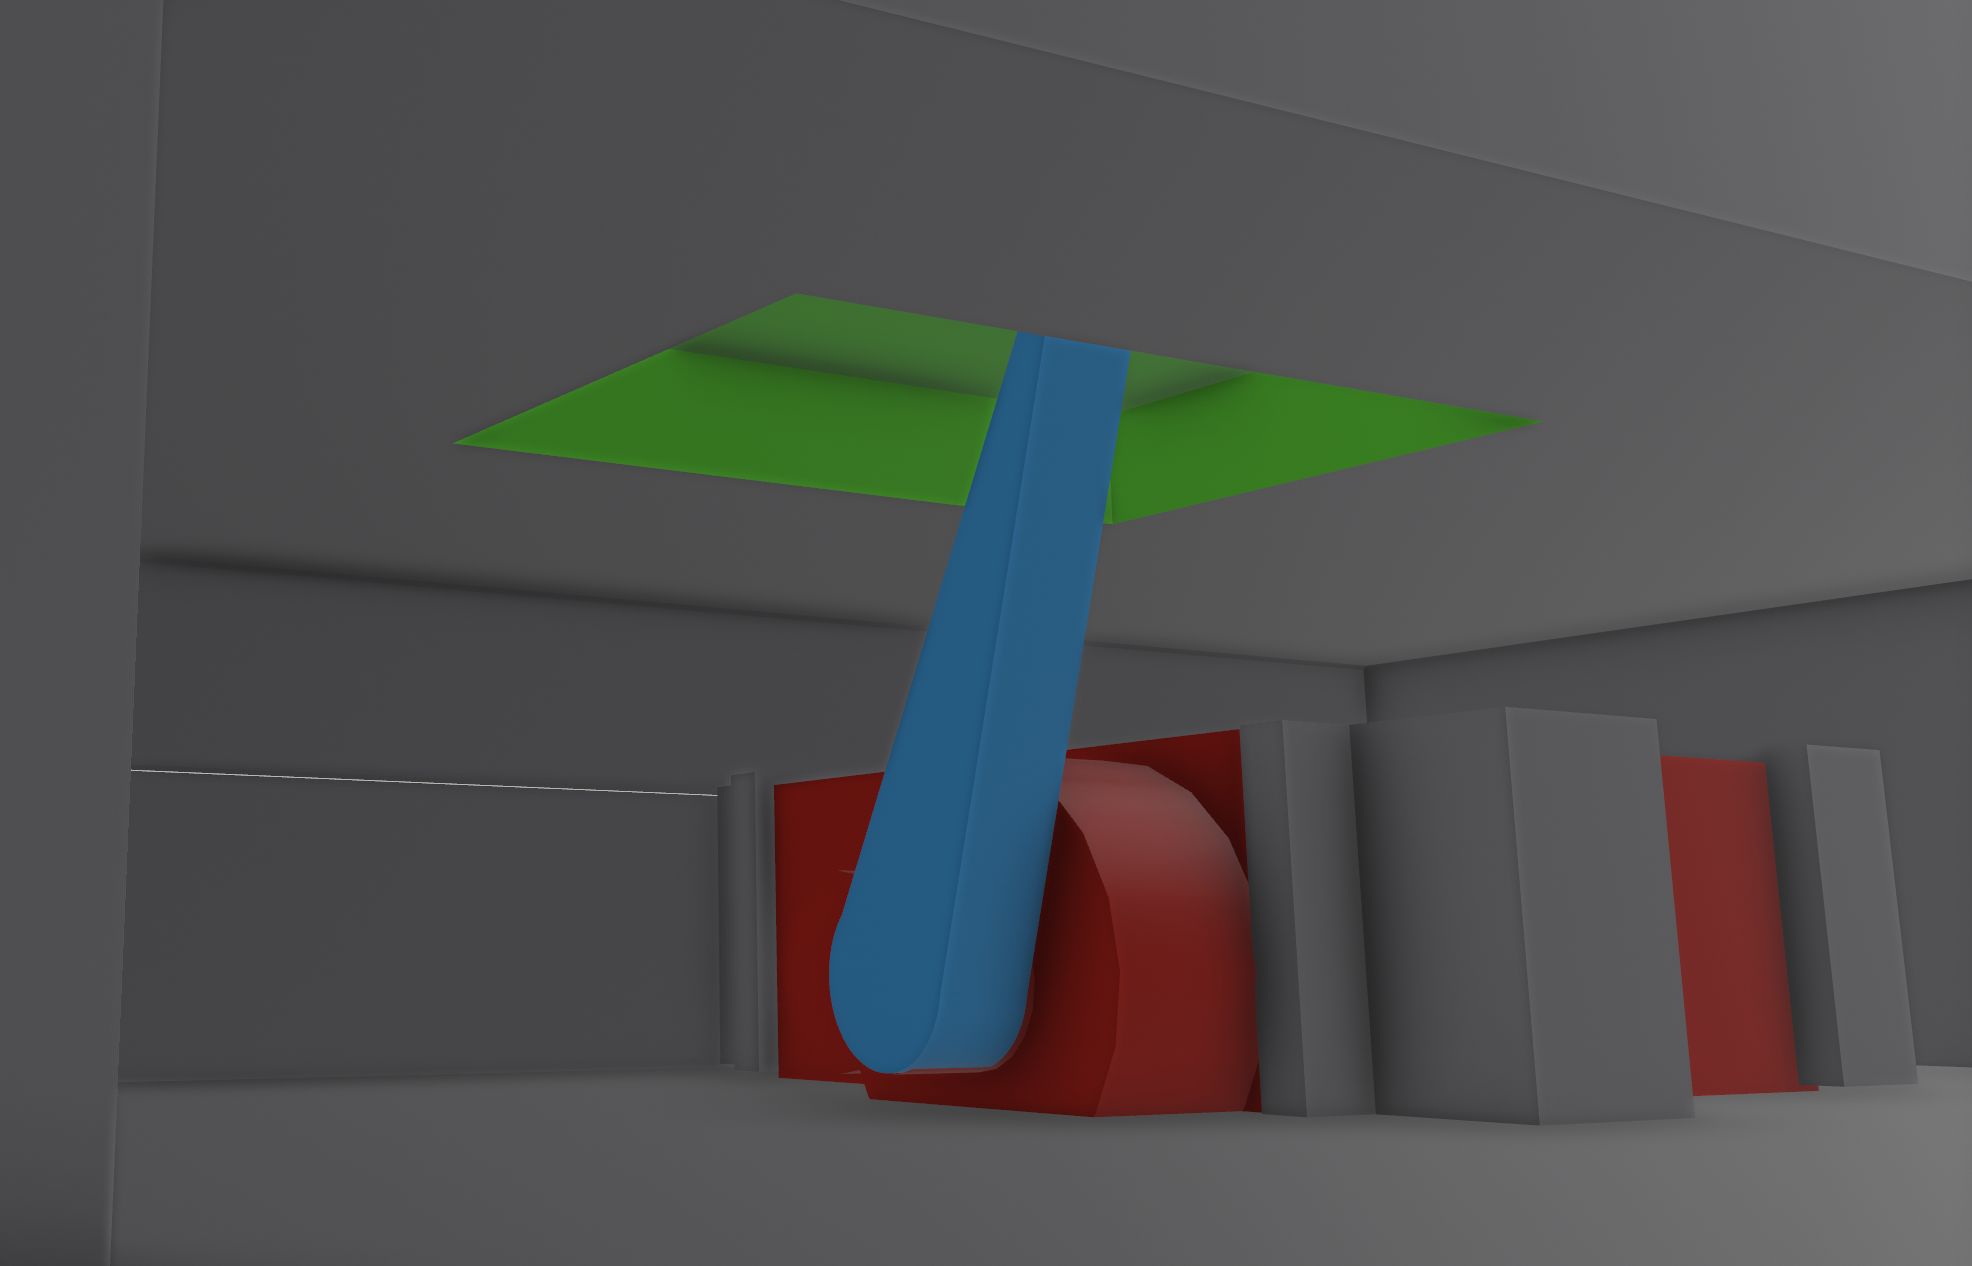
I tinkered a lot with the length of the spring to make the amount the drawer popped out feel just right. I’m really happy with where I got to with it and it was a satisfying last element to complete.